| Creating a Simple Page |
Now we will add some dynamic content to our JSP page. We can create a form bean -- a simple Java object used by the controller -- to represent the state of a form. We will then modify the controller and the JSP to render a simple form to interact with this data. In the long run, the real work on this data will be applied elsewhere to conform with the three-tier architecture.
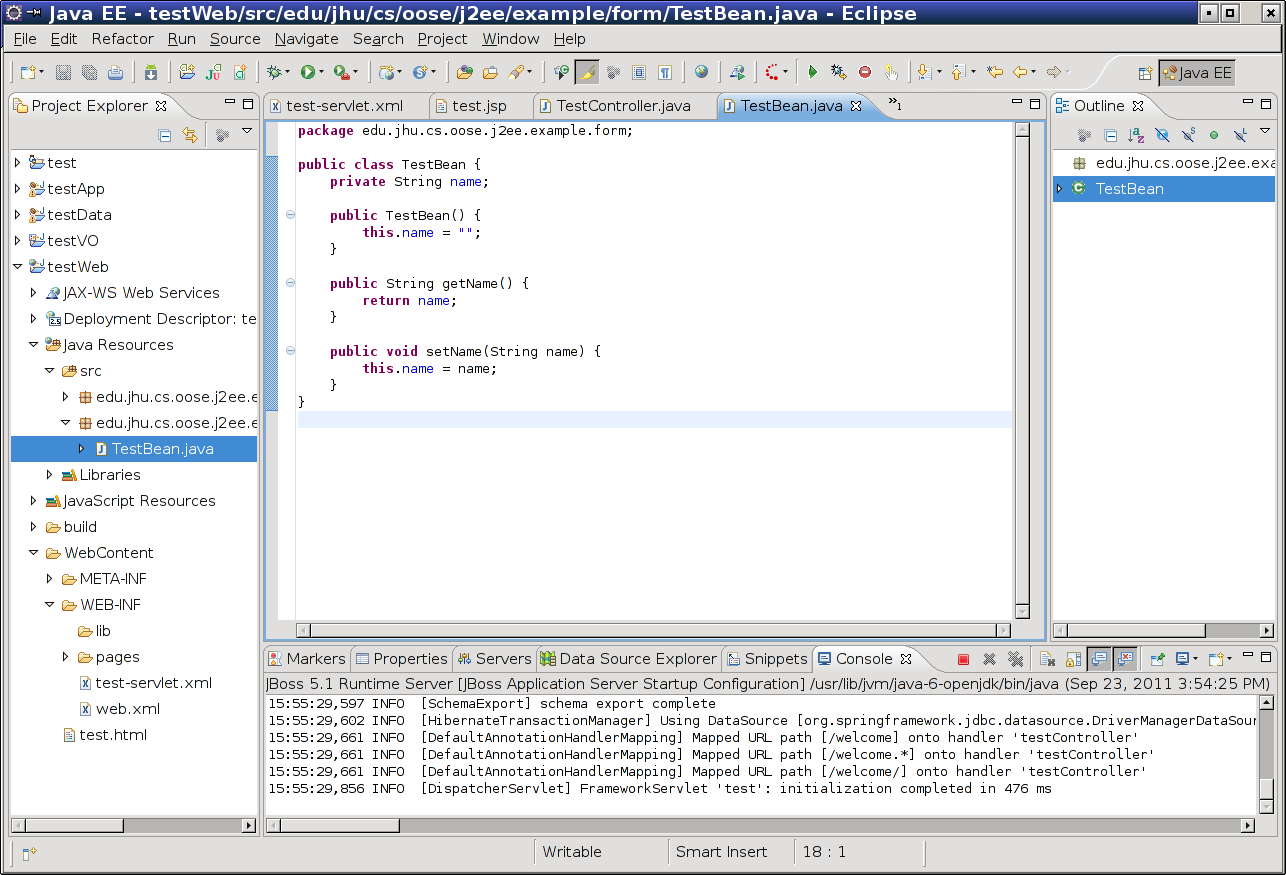
Create a new class called TestBean in a new package called edu.jhu.cs.oose.j2ee.example.form. This package will contain the form beans which back forms in the view.
Inside of the TestBean class, create a String field called name. Create a constructor which initializes this name to an empty string and an appropriate getter and setter.

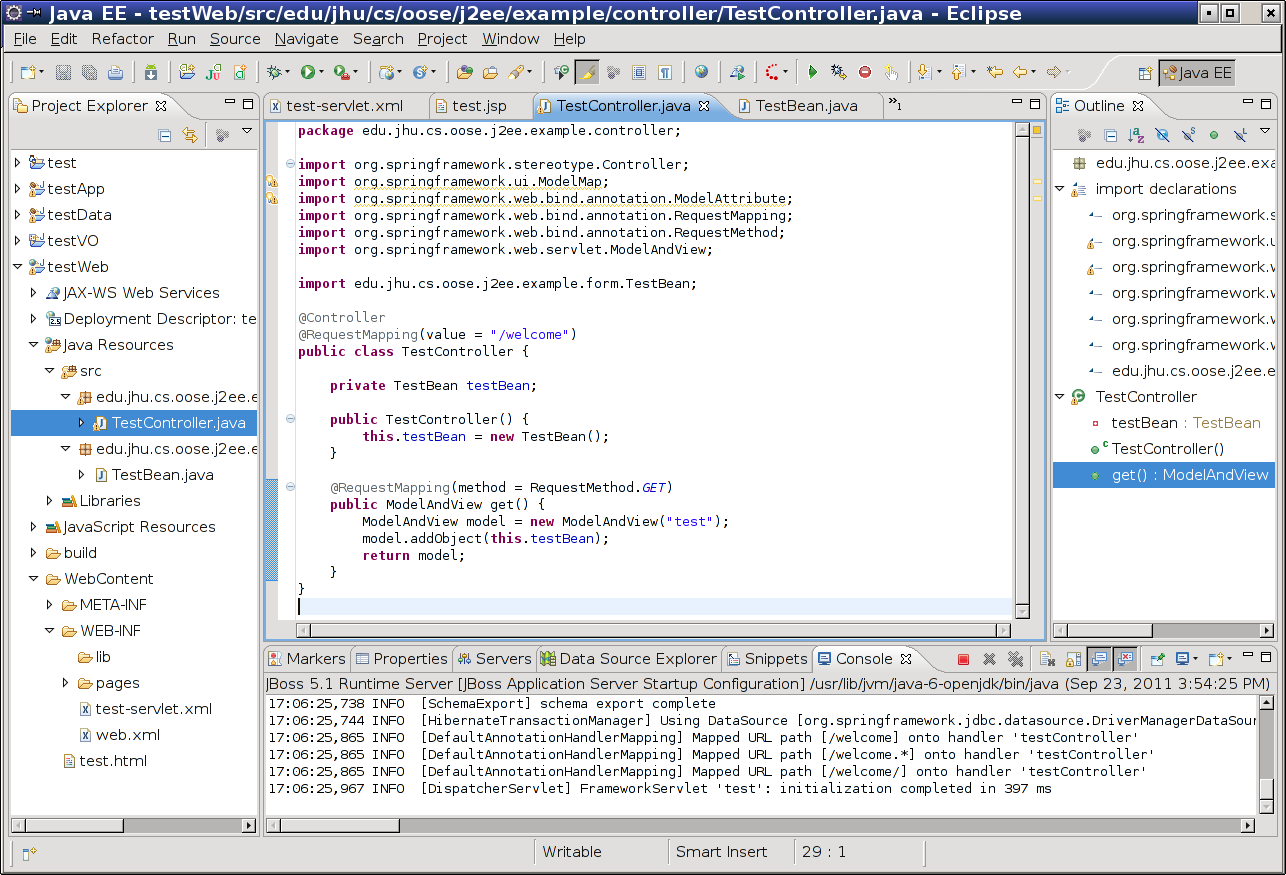
Next, modify your TestController to have a TestBean field called testBean. Make sure that this field is populated with a new TestBean whenever the controller is instantiated. Then, change the get method such that the testBean is added to the ModelMap. It will be accessible under the name testBean because of the name of its class.
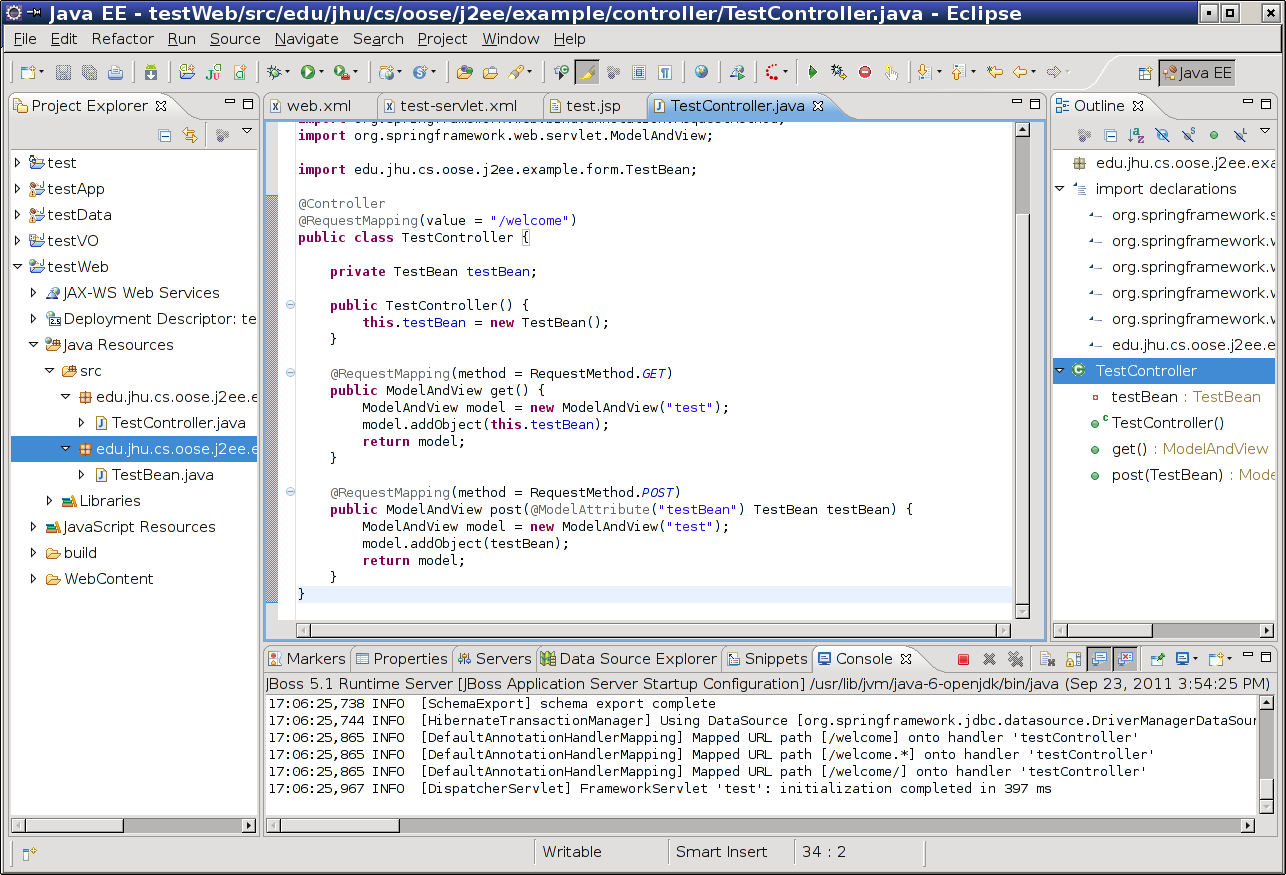
Next, create a new method called post. This method will be used to process POST requests -- events in which the user submits the form back to the controller. The method we write will have a somewhat unusual (annotated) parameter containing the backing data from the previous controller. The parameter itself should be written @ModelAttribute("testBean") TestBean testBean; that is, it is a parameter named testBean of type TestBean with the ModelAttribute annotation. This annotation will ensure that the value for the parameter is provided from the POST request contents, which are populated in a web browser by the contents of the form (which we will add to test.jsp shortly).
The body of this method should, for now, be very simple: to copy the TestBean argument into a ModelAndView and then route back to the same page.
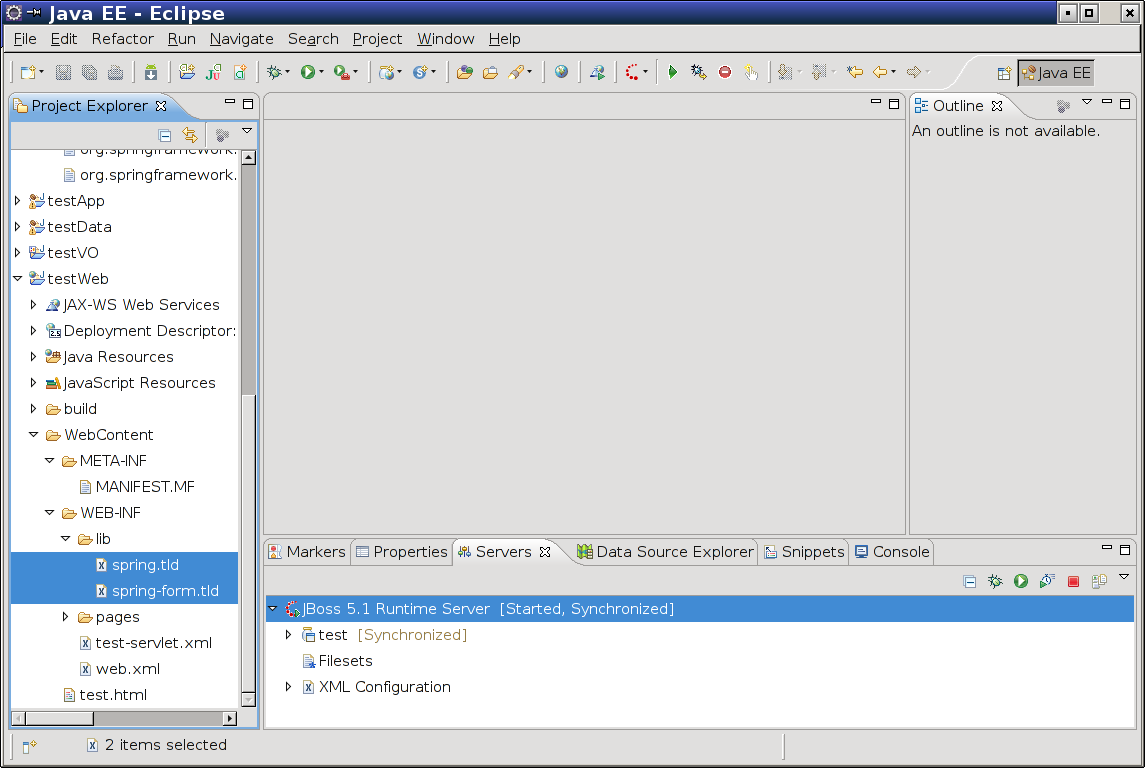
Finally, we need to modify our original test page to include a form. Rather than using a normal HTML form we are going to use the form from the Spring MVC tag libraries; this allows Spring MVC to generate the HTML for us in such a way that we do not have to worry about how information gets from the server to the client's browser and back. To connect the tag libraries, the web project must have access to their Tag Library Descriptor (.tld) files. Unfortunately, the web application will not examine the Spring JARs in the EarContent of the EAR to find these files, so we must copy them into the web project. From the Spring distribution, copy the TLD files in the directory projects/org.springframework.web.servlet/src/main/resources/META-INF/ to your web project's WebContent/WEB-INF/lib directory.
To make the JSP use the tag libraries, we include the following at the top of our test.jsp:
We can then replace the body contents of the page with the following:
This body content is a mix between standard HTML and the new JSP tags we have just included. Each JSP tag is supported by an underlying Java class that modifies the page in which it is included to produce a certain effect. The c:url tag sets a variable to an appropriate URL based on the point on the web server at which the web application is hosted; that is, /welcome.do will translate to http://127.0.0.1:8080/testWeb/welcome.do because the tag's code looks up the server's hostname, port, base path, and so on.
We use the form:form JSP tag rather than a normal HTML form because it allows us to discuss values which we named in the Spring MVC layer. TestController always ensures that the test.jsp is rendered with a value bound to testBean in its model. The commandName attribute of the form instructs Spring to bind the form's data (such as the name input) to the testBean variable (which is the TestBean object our TestController created). This allows the form to be rendered with default values representing the bean; it also ensures that the values will be stored into that object when the form is resubmitted.
If you launch the application now, you should see something like the following:
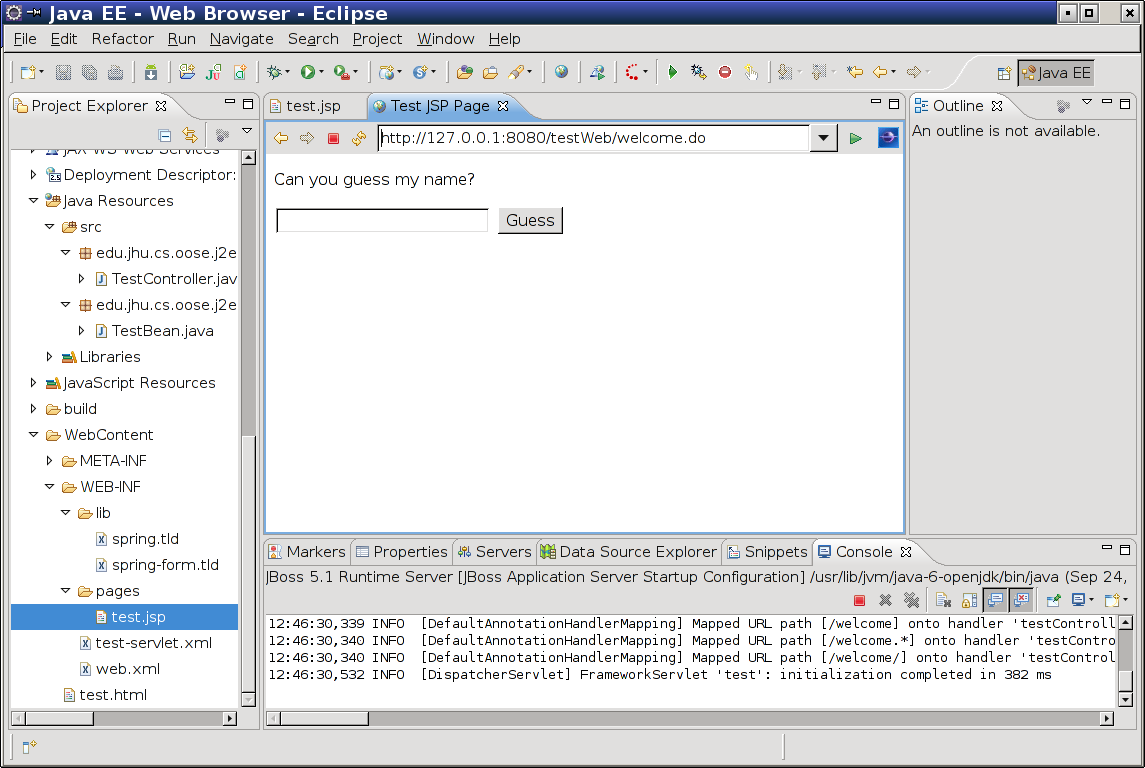
If you enter a name and submit the form, the page will be reloaded with the name you entered as the default text of the form field.
While it might not look like much, this means that your web application is now able to process requests! Next, we will show how application logic can be used to make the application do something a bit more interesting.
| Creating a Simple Page |
Written by Zachary Palmer with help from Varun Sharma. Corrections and suggestions are welcome; please e-mail zachary dot palmer xX att Xx jhu.edu