| Configure Spring |
At this point, you should have an appealing skeleton for web application development. However, this skeleton does not detail how to make use of the structure we have put into place. The following will demonstrate how to create a very simple web application which utilizes the mechanisms we have just configured.
The contents of the WebContent directory will be made available to the world through the application server; the only exception is the contents of the WEB-INF directory, which is never exported. Our JSP pages are stored within that directory in part because it prevents users from accessing our resources.
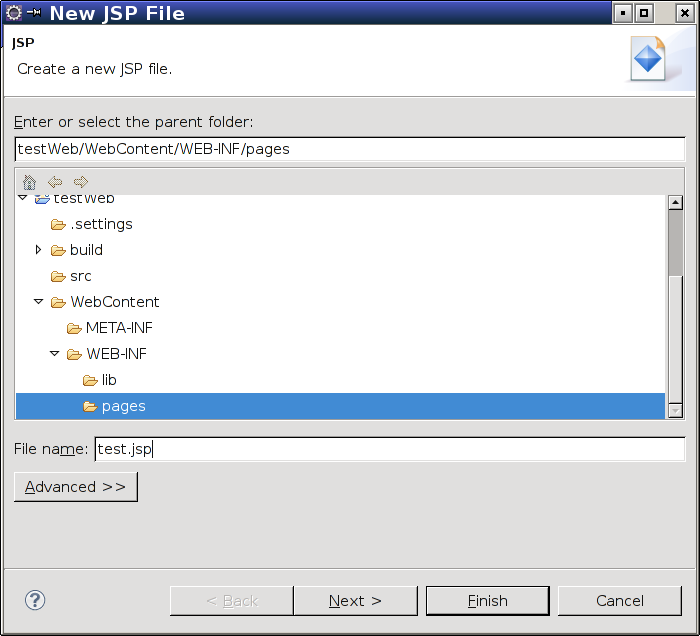
We will start by creating a simple JSP test page. Right-click the WEB-INF folder and create a new folder named pages. Then, right-click the pages folder and select New followed by JSP. You will then be presented with the New JavaServer Page dialog. Enter the name test.jsp.
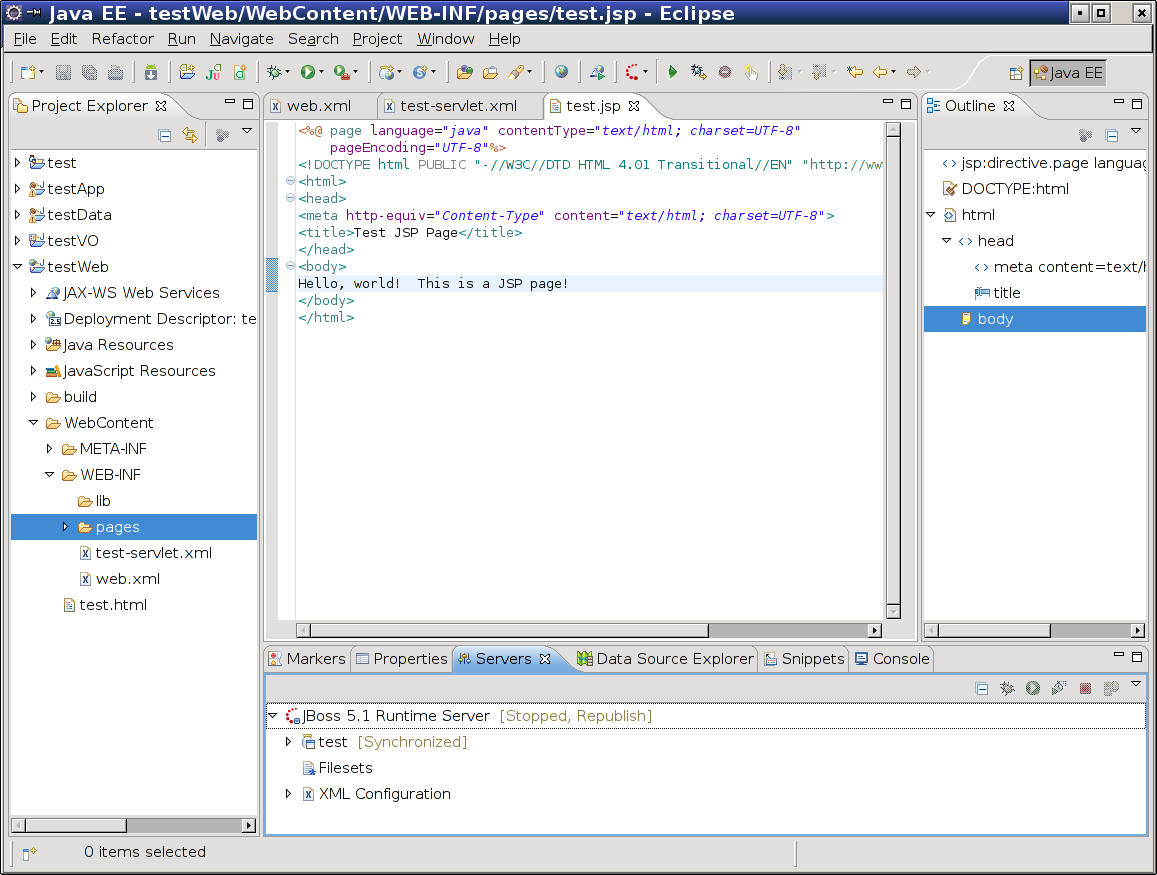
Click Finish to create the JSP. Give the resulting page a title and some simple content.
This produces a JSP view, but it does not actually connect the JSP to the rest of the world. We treat HTTP requests as controller actions; these actions instantiate a view model and use it to render a view. That rendered view is then used as the HTTP response. At the moment, we have a view (the JSP), but we do not have a controller connected to it.
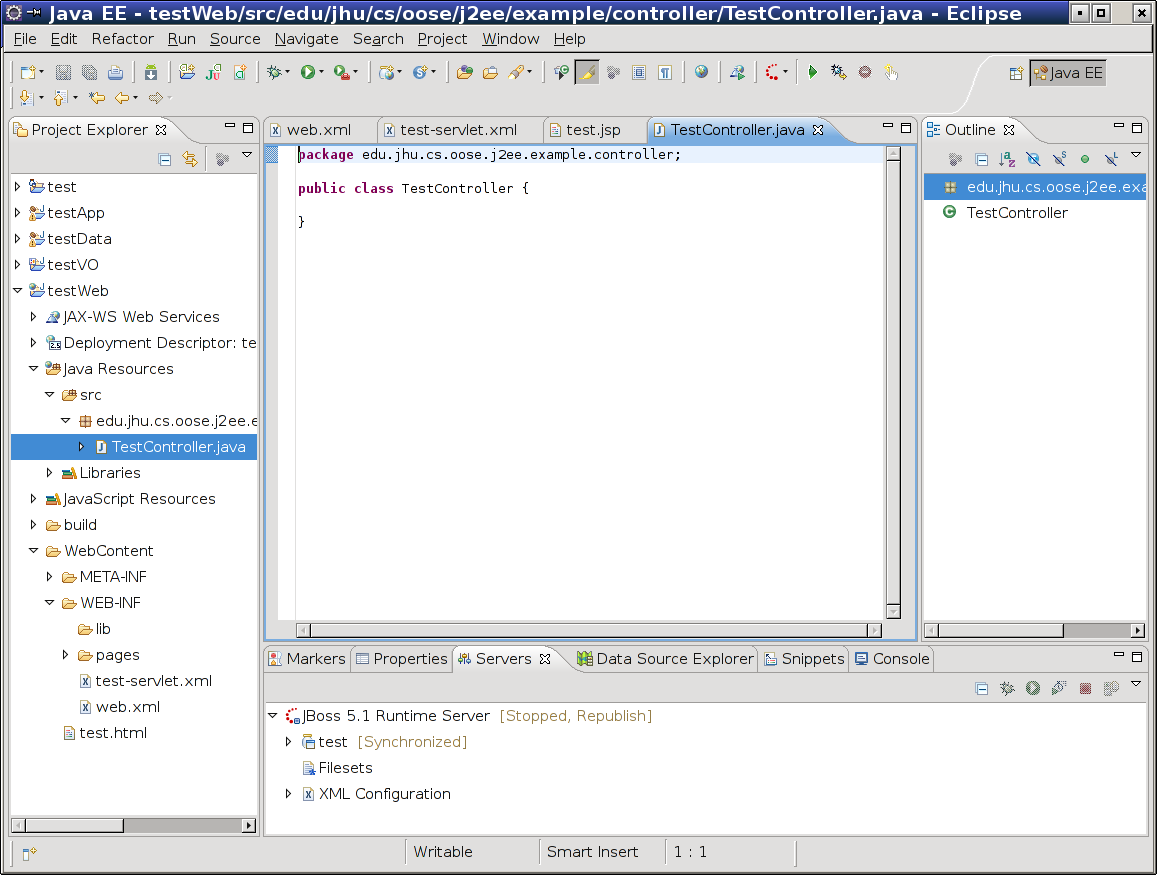
Create a package in the web project named edu.jhu.cs.oose.j2ee.example.controller. This package will be used to hold the controllers for the web application. In that package, create a class named TestController.
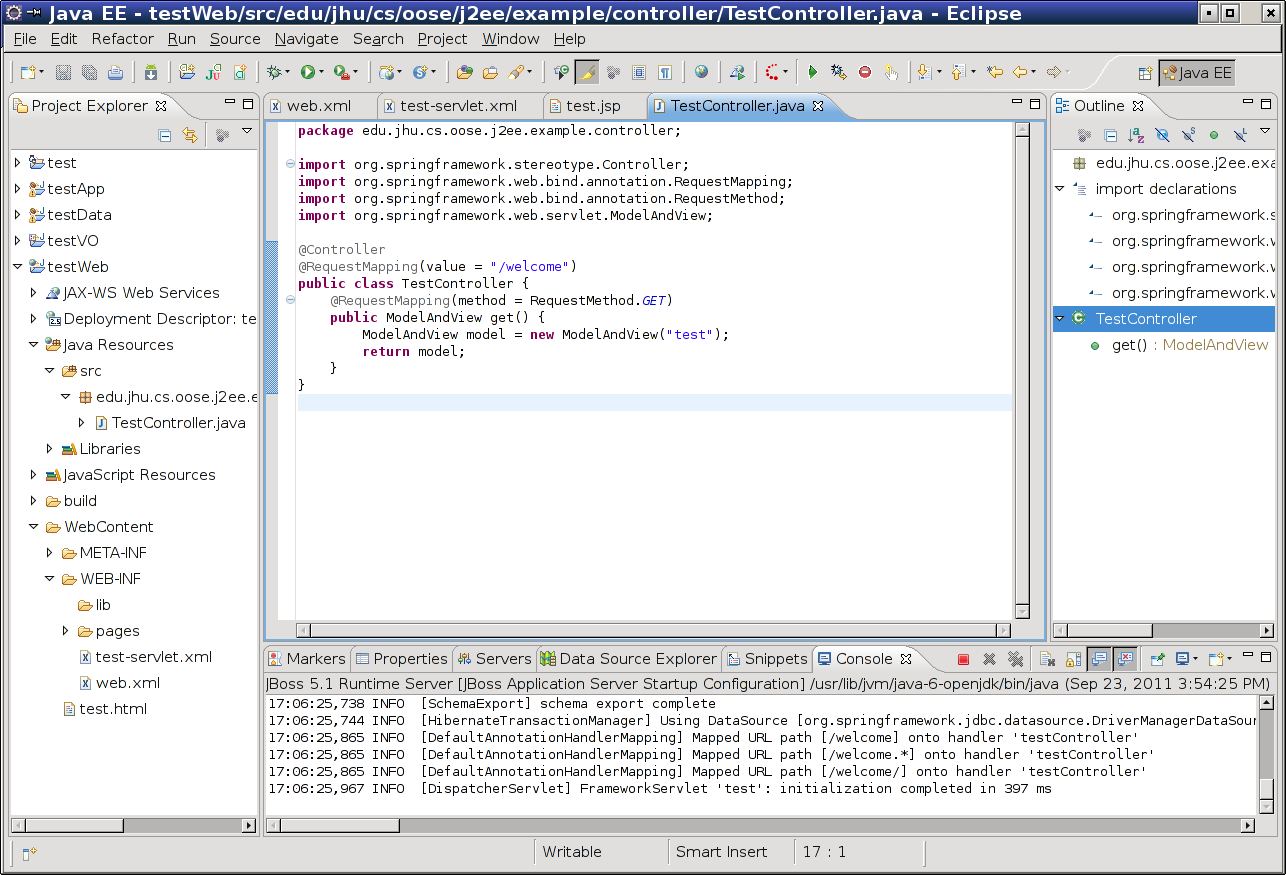
Add the Controller stereotype annotation to the class. Also, add a RequestMapping annotation with a value argument of "/welcome".
Next, add a method to the controller to handle GET requests to the /welcome URL. The method should return the ModelAndView type, a type which specifies a view to use and, optionally, a number of data elements for the view to render. The body of the method can simply be return new ModelAndView("test");, which will cause any requests the method handles to be rendered by the test view, represented by the test.jsp we just created. Finally, add the RequestMapping annotation to this new method as well, but with a method argument of RequestMethod.GET.
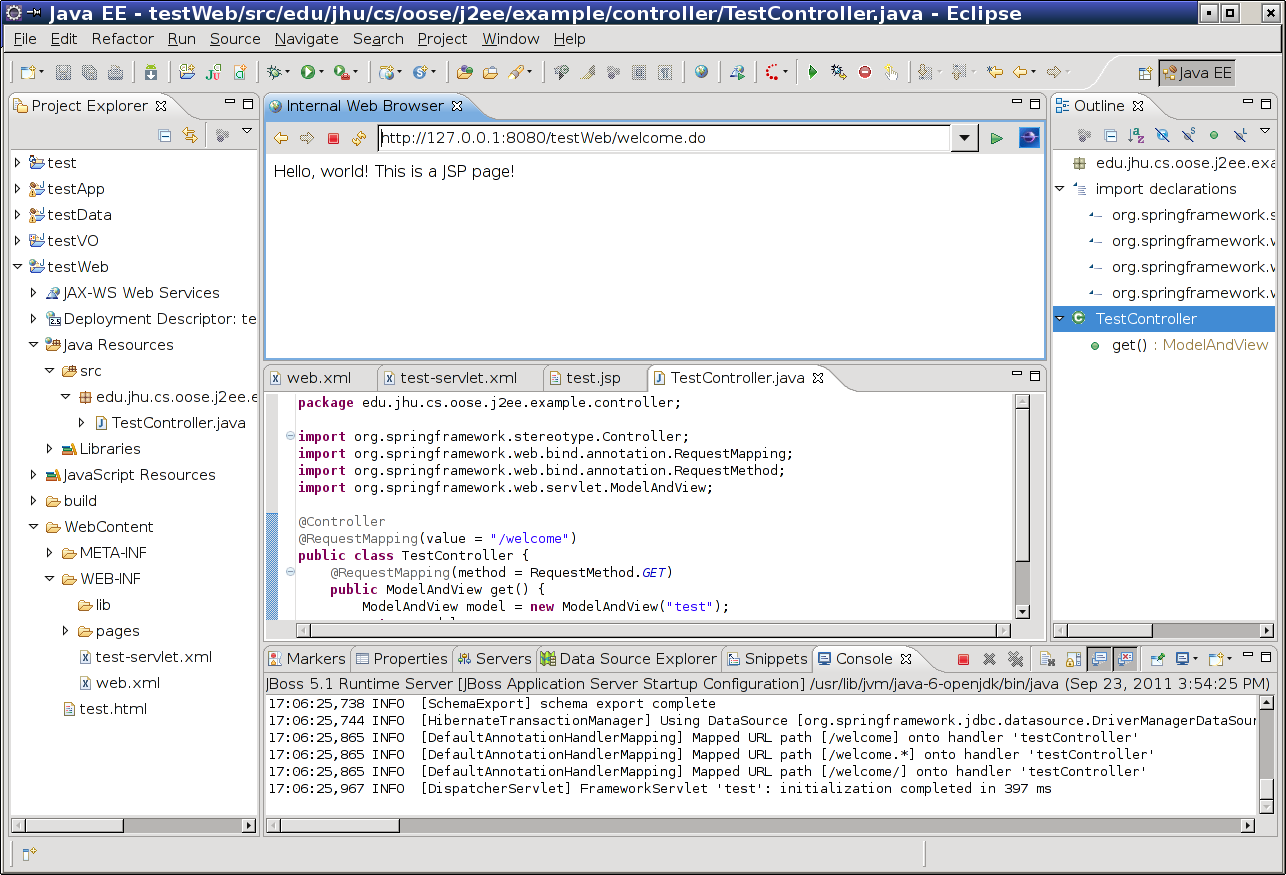
By the time you are finished, your controller should look like this.
You should now be able to start your server and navigate to the test page. Observe that the URL is determined by the RequestMapping annotations and not by the name of the JSP. If you visit http://127.0.0.1/testWeb/welcome.do, you should see the page which as just created. The following screenshot gives an example. (Recall, however, that the Eclipse internal browser is not typically used for testing; it is used here only to simplify presentation.)
We are now ready to do something interesting with our application.
| Configure Spring |
Written by Zachary Palmer with help from Varun Sharma. Corrections and suggestions are welcome; please e-mail zachary dot palmer xX att Xx jhu.edu