JHU Object-Oriented Software Engineering Course Homepage
8. Configure Spring
Next, we configure Spring. Spring serves two purposes in our web application. The Spring core is used to wire or connect different pieces of our web application together; this allows the application logic to act as independent from the presentation logic without either side needing to know about the implementation of the other. This is often termed inversion of control or dependency injection.
Spring MVC is another component of the Spring framework; its purpose is to provide a model-view-controller design for the web application's presentation tier. Spring MVC will be responsible for figuring out which controllers are responsible for managing a given web request as well as how the response from the web application will be constructed.
We start by configuring the web.xml file in the WebContent/WEB-INF directory of the web project. If you do not have a web.xml in that location, you will need to create one; otherwise, edit its contents to look like the following.
<?xml version="1.0" encoding="UTF-8"?>
<web-app xmlns:xsi="http://www.w3.org/2001/XMLSchema-instance"
xmlns="http://java.sun.com/xml/ns/javaee" xmlns:web="http://java.sun.com/xml/ns/javaee/web-app_2_5.xsd"
xsi:schemaLocation="http://java.sun.com/xml/ns/javaee http://java.sun.com/xml/ns/javaee/web-app_2_5.xsd"
id="WebApp_ID" version="2.5">
<display-name>testWeb</display-name>
<welcome-file-list>
<welcome-file>index.html</welcome-file>
<welcome-file>index.htm</welcome-file>
<welcome-file>index.jsp</welcome-file>
<welcome-file>default.html</welcome-file>
<welcome-file>default.htm</welcome-file>
<welcome-file>default.jsp</welcome-file>
</welcome-file-list>
<servlet>
<servlet-name>test</servlet-name>
<servlet-class>org.springframework.web.servlet.DispatcherServlet</servlet-class>
</servlet>
<servlet-mapping>
<servlet-name>test</servlet-name>
<url-pattern>*.do</url-pattern>
</servlet-mapping>
<listener>
<listener-class>org.springframework.web.context.ContextLoaderListener</listener-class>
</listener>
<context-param>
<param-name>contextConfigLocation</param-name>
<param-value>/WEB-INF/test-servlet.xml</param-value>
</context-param>
</web-app>
We can break down the contents of this file as follows:
- The display name describes the web application.
- The welcome file list is used to determine the file which will be used when a user navigates to a directory. (This is why you can visit google.com instead of google.com/index.html.)
- The servlet declaration describes that the Spring dispatcher servlet is to be loaded and mapped to the name test; this can actually be any name, although the XML file which configures Spring should be based on it.
- The servlet mapping declaration indicates that any requests ending in .do are to be dispatched directly to the Spring servlet.
- The ContextLoaderListener ensures that Spring MVC can provide web pages (part of the view) with access to the contents of the display model.
- The contextConfigLocation parameter indicates to Spring where its configuration can be found.
At this point, we need to provide Spring with a configuration file as mentioned in the web.xml. Create a file named test-servlet.xml in the WEB-INF directory with the following contents.
<?xml version="1.0" encoding="UTF-8"?>
<beans xmlns="http://www.springframework.org/schema/beans"
xmlns:xsi="http://www.w3.org/2001/XMLSchema-instance" xmlns:p="http://www.springframework.org/schema/p"
xmlns:tx="http://www.springframework.org/schema/tx" xmlns:context="http://www.springframework.org/schema/context"
xsi:schemaLocation="
http://www.springframework.org/schema/beans
http://www.springframework.org/schema/beans/spring-beans-3.0.xsd
http://www.springframework.org/schema/tx
http://www.springframework.org/schema/tx/spring-tx-3.0.xsd
http://www.springframework.org/schema/context
http://www.springframework.org/schema/context/spring-context-3.0.xsd
http://www.springframework.org/schema/task
http://www.springframework.org/schema/task/spring-task-3.0.xsd">
<tx:annotation-driven />
<context:component-scan base-package="edu.jhu.cs.oose.j2ee.example" />
<bean id="dataSource"
class="org.springframework.jdbc.datasource.DriverManagerDataSource">
<property name="driverClassName" value="com.mysql.jdbc.Driver" />
<property name="url" value="jdbc:mysql://localhost/j2ee" />
<property name="username" value="j2ee" />
<property name="password" value="j2ee" />
</bean>
<bean id="sessionFactory"
class="org.springframework.orm.hibernate3.annotation.AnnotationSessionFactoryBean">
<property name="dataSource" ref="dataSource" />
<property name="packagesToScan" value="edu.jhu.cs.oose.j2ee.example.**.*" />
<property name="hibernateProperties">
<props>
<prop key="hibernate.hbm2ddl.auto">create</prop>
</props>
</property>
</bean>
<bean id="transactionManager"
class="org.springframework.orm.hibernate3.HibernateTransactionManager">
<property name="sessionFactory" ref="sessionFactory" />
</bean>
<bean id="viewResolver"
class="org.springframework.web.servlet.view.InternalResourceViewResolver">
<property name="prefix">
<value>/WEB-INF/pages/</value>
</property>
<property name="suffix">
<value>.jsp</value>
</property>
</bean>
</beans>
This Spring configuration file will see us through the rest of the process and will permit us to configure our application using Java annotations (rather than going back to the XML file all the time). There are a few points of interest to highlight:
- There are a few places where edu.jhu.cs.oose.j2ee.example appears. This is the name of the package in which all of your application's code appears (regardless of which project it is in). This tutorial will create all of the classes in subpackages of this package. You should pick a different name once you have finished the tutorial and are ready to set up your own web application.
- The dataSource bean configuration contains your database credentials. It is possible to store this information elsewhere (such as in a properties file), but it is kept here for simplicity. Make sure to adjust the contents appropriately for a working MySQL database. You will probably want to install MySQL on your development machine and use a local database to reduce confusion.
For instructions on how to set up that database, click here.Hide
- Install a MySQL database on your machine. This process will vary based on your operating system.
- Start a MySQL client as the root user.
- Create a j2ee user: create user 'j2ee'@'localhost' identified by 'j2ee';
- Create a j2ee database: create database j2ee;
- Give the new user access to that database: grant all privileges on j2ee.* to 'j2ee'@'localhost' with grant option;
- Ensure that these privileges are active: flush privileges;
- Close the MySQL client.
- Test the new user by opening a client as that user and accessing the database. The standard MySQL client can be launched in this way: mysql -u j2ee -D j2ee -p.
- We have set the hibernate.hbm2ddl.auto property to create. This will cause the application to drop tables from the connected database upon startup and recreate the database schema from the persistence classes we will create. This is a desirable property at first, since it helps you ensure that garbage left over from previous attempts will not interfere with your application. Later, you may wish to change this value to update or to remove this property altogether.
- The viewResolver bean is used to determine where your JSP pages will be stored.
Once you are finished, the application should look like the following.
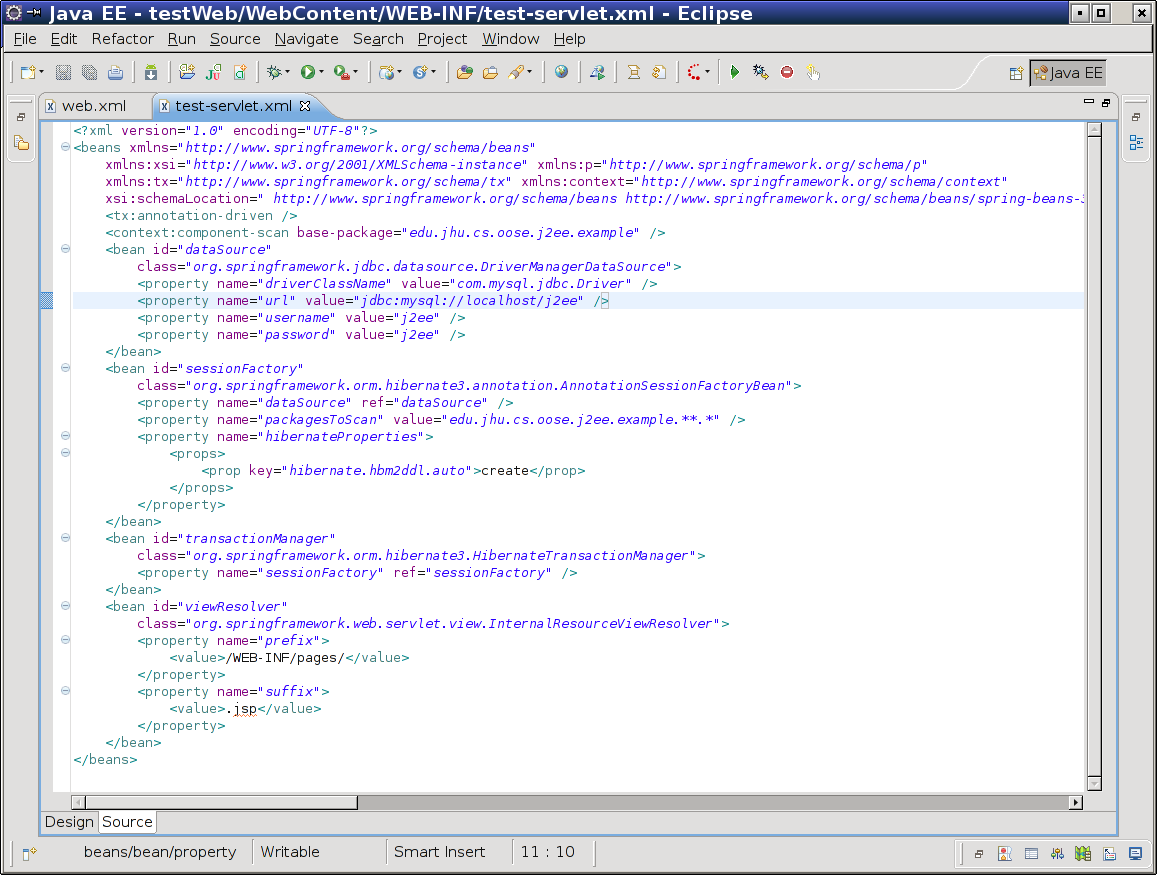
The server should start with this configuration; you should start the web application and ensure that there are no exceptions. It will not, however, present any additional functionality yet. Once you have performed this sanity check, stop the server and continue with the next step.
Warning: JBoss 7.01 does not function correctly at this point; the application will raise a ClassNotFoundException looking for javax.servlet.ServletContextListener.
Written by Zachary Palmer with help from Varun Sharma. Corrections and suggestions are welcome; please e-mail zachary dot palmer xX att Xx jhu.edu